The Complete Guide to Basement Renovation
Assessments, Codes, and a Solid Plan
Your basement can become breathing room beneath your feet, but a thoughtful plan comes first. Start by defining the “why”: guest suite, recreation area, home office, storage upgrade, or rental-ready space. Clear goals shape every downstream choice, from framing to fixtures. Next, do a blunt, nose-to-concrete assessment. Look for moisture marks, efflorescence (that chalky film), hairline cracks, musty odors, flaking paint, soft spots in wood, and rusty fasteners. Tape a clear plastic square to a slab for 24–48 hours; visible condensation inside suggests high vapor drive that needs attention before finishes go in. A digital hygrometer helps you track relative humidity; target roughly 40–50% once the space is conditioned.
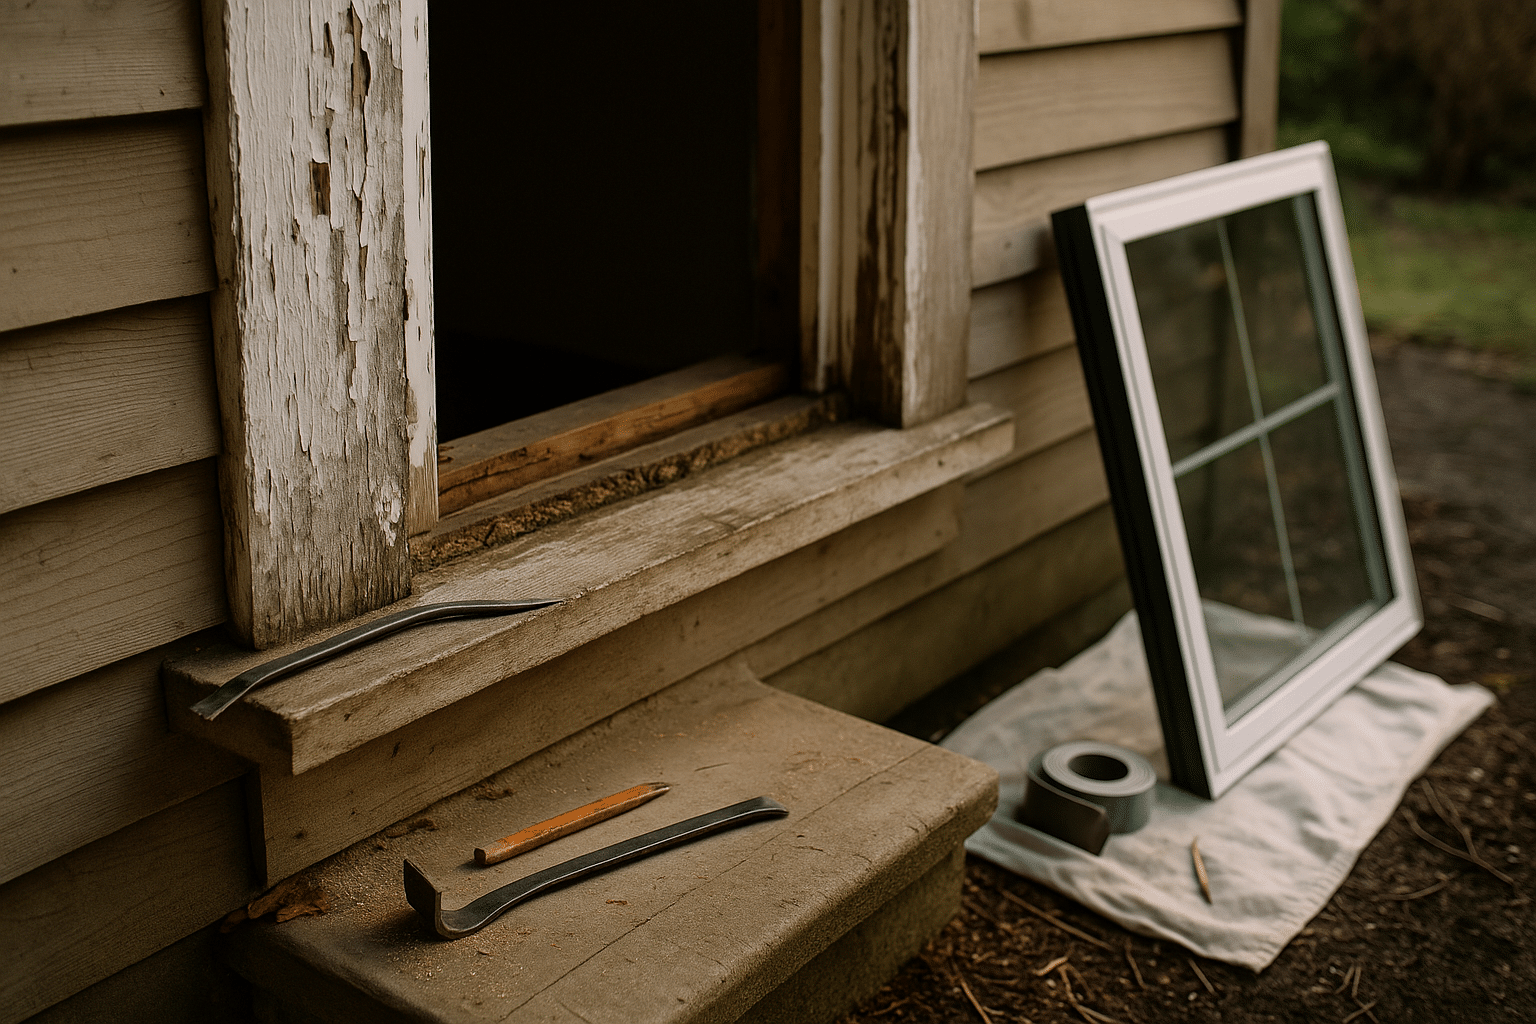
Codes and comfort intersect in basements. Many jurisdictions set minimum ceiling heights, stair geometry rules, smoke and carbon-monoxide alarm locations, and specific egress requirements for sleeping rooms. If a bedroom is part of the plan, an egress window or door with adequate clear opening isn’t just wise—it’s typically mandatory. Utility clearance matters too; keep workable space around electrical panels, furnaces, and water heaters. Plan for future access by avoiding hard-built enclosures that box in shutoff valves or cleanouts.
Sketch multiple layouts and test furniture footprints with painter’s tape. Think in zones: quiet vs. active, wet vs. dry, natural light vs. interior. Put noisy mechanicals behind insulated walls, and reserve perimeter walls with windows for living areas. Order of operations usually runs: assessment, moisture mitigation, layout and permits, rough-in (framing, electrical, plumbing, HVAC adjustments), inspections, insulation and drywall, finishes, and final punch list. Setting a realistic budget helps you avoid stall-outs. Typical cost drivers include structural changes, bathroom additions, and extensive waterproofing. Build in a contingency—10–15%—to absorb surprises without panic. A written scope of work, even for DIY projects, keeps decisions aligned. Red flags to resolve before you proceed include: - Standing water or active leaks after rain - Persistent odors, visible mold, or spalling concrete - Significant cracks with displacement or widening - Sagging joists or evidence of pest damage
Treat your plan as a compass, not a cage. You’ll adjust as you uncover secrets behind the walls, but a clear path reduces rework, protects your budget, and sets the stage for a space that feels intentional rather than improvised.
Waterproofing, Insulation, and Air Quality
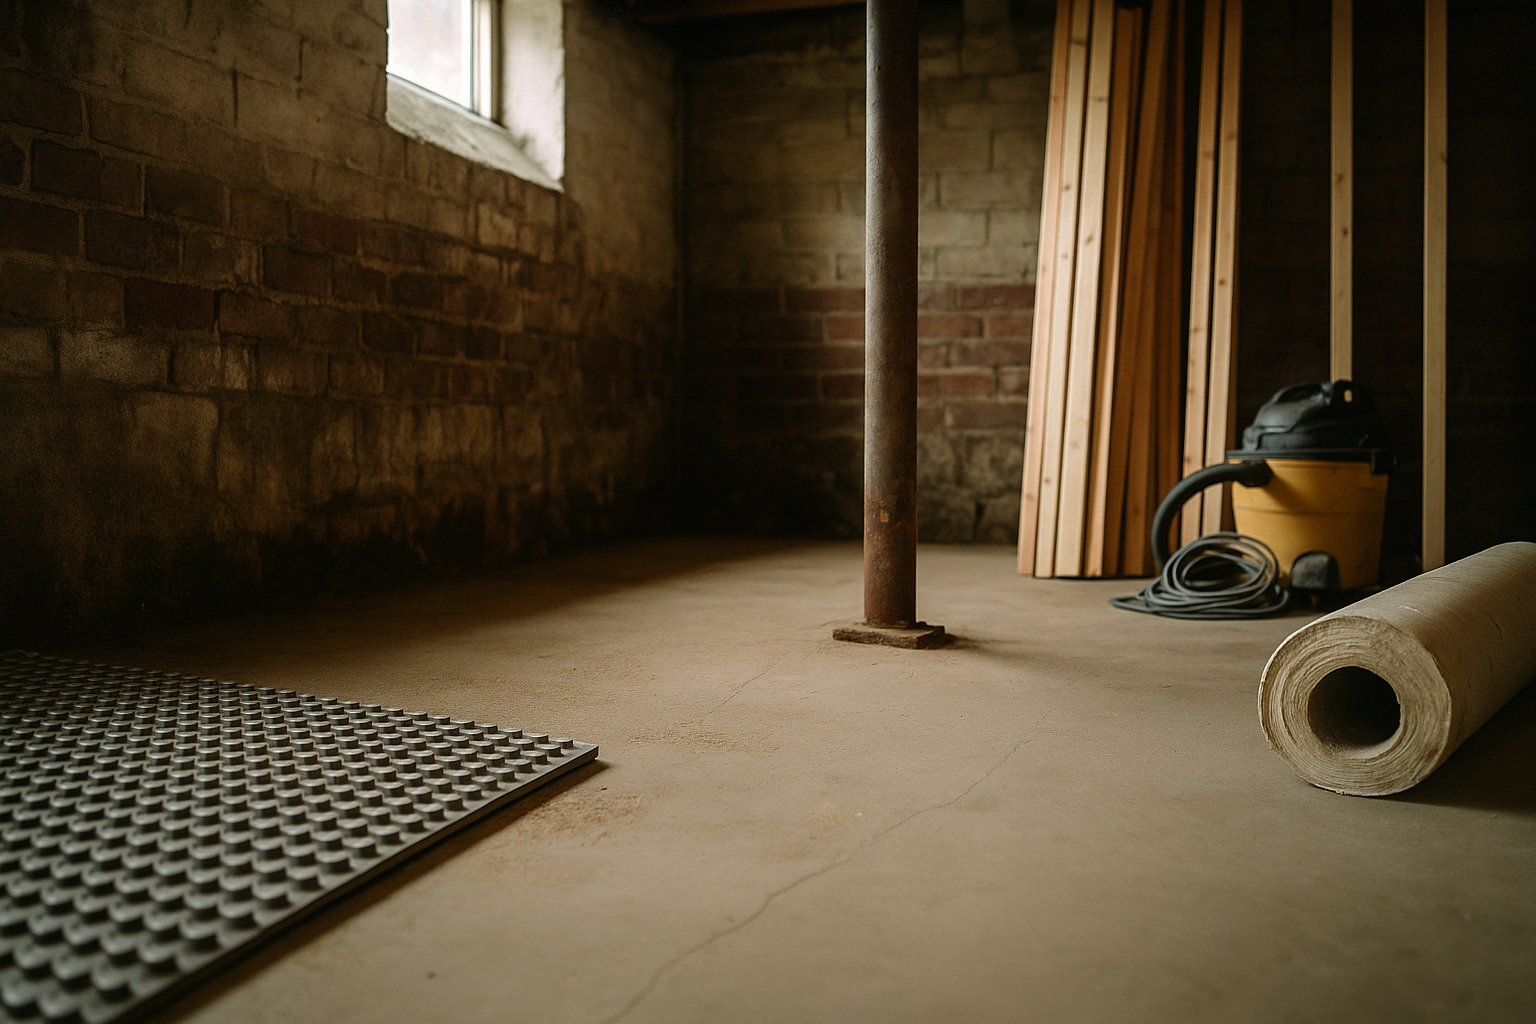
Water shapes basements quietly and relentlessly. Manage it outside first: maintain grading that slopes away from the foundation, extend downspouts, and keep gutters clear. Inside, diagnose whether you’re facing seepage, vapor diffusion, or seasonal humidity. Interior perimeter drains paired with a sump can redirect liquid water; wall-sealing paints alone rarely solve chronic issues. For minor seepage at cold joints, hydraulic cement or crack injection may help, but persistent flow calls for drainage solutions. When planning finishes, avoid trapping moisture. A continuous capillary break and thermal break between concrete and conditioned materials are essential.
Insulation strategy depends on climate and wall type. Bare concrete is a massive heat sink; insulating it improves comfort and reduces condensation risk. Rigid foam boards against foundation walls—sealed at seams and edges—create a dependable thermal and vapor control layer. Common choices include expanded or extruded polystyrene, or polyisocyanurate, sized to meet local R-value targets. Mineral wool can be used within stud cavities, but rely on a continuous foam layer to reduce thermal bridging. Closed-cell spray foam is effective at rim joists and irregular areas; just ensure proper thickness and fire protection layers where required. For floors, consider a dimpled membrane or insulated panel beneath engineered flooring to lift finished surfaces off the cool slab and interrupt vapor drive.
Healthy air is non-negotiable. Basements, being below grade, can trap pollutants and humidity. Aim for 40–50% relative humidity, using a dehumidifier if needed and routing condensate to a drain. Where regional geology suggests soil gases, install mitigation during rough-in rather than retrofitting later. Balanced ventilation improves comfort and odor control; an energy-conscious approach exchanges stale air for fresh while limiting heat loss. Filtration with medium-to-high efficiency ratings helps capture fine particles; change filters on schedule to maintain airflow. In bathrooms and laundry areas, exhaust fans should vent outdoors, not into wall cavities or soffits.
The test of a good envelope is how quietly it works. With robust waterproofing, continuous insulation, and balanced ventilation, your basement stops feeling like “downstairs” and starts feeling like home. The payoff shows up in smaller energy swings, fewer mold-prone corners, and finishes that last because the building science beneath them is sound.
Structure, Electrical, and Plumbing Fundamentals
Framing in a basement is equal parts structure and strategy. Use pressure-treated bottom plates where wood meets concrete, and isolate studs from foundation walls with a continuous insulation layer to prevent condensation on cold surfaces. Keep framing plumb and square to simplify drywall and millwork later. If sound transfer matters—say, for a media room—consider decoupled walls, resilient channels, or staggered studs along with dense insulation in cavities. For floors, a sleeper system or modular subfloor adds warmth and reduces the risk of cold spots; check headroom before adding layers. When fastening to concrete, use anchors sized for the load and avoid penetrating critical areas like post bases.
Electrical planning is more than placing outlets. Lay out dedicated circuits for equipment that draws continuous load, and include required protection for habitable areas and damp locations. Think in layers of light: ambient, task, and accent. Recessed cans, surface fixtures, and wall sconces can work together if you map beam spreads and avoid shadowy corners. Color temperature around the warm-to-neutral range keeps the space inviting, and dimmers let one room handle movie night and laundry duty without drama. Provide generous receptacles along walls and at work surfaces, and plan switching so you never walk across a dark room. If you expect high-demand gear—treadmills, servers, or shop tools—design circuits accordingly and consider panel capacity early.
Plumbing turns a useful basement into a versatile one. If you add a bathroom or wet bar below the sewer line, a sewage ejector pump or macerating system might be necessary; locate it where service is straightforward and noise is manageable. Drain lines need reliable slope—commonly about a quarter inch per foot—to avoid clogs. Venting is vital for fixture performance; tie vents into the existing system per local rules. Protect pipes against freezing in rim joists and near exterior walls, and allow for cleanouts where they’re actually reachable. Backwater valves can shield fixtures from municipal surges; some locales require them in basements.
Expect hidden issues in older homes—undersized beams, ungrounded wiring, or patchwork plumbing. Build time for remediation and budget with ranges in mind. Electrical panel upgrades, additional circuits, or a properly vented bathroom can add cost, but they also add safety, longevity, and the kind of daily ease that makes the space feel effortlessly useful.
Layout, Finishes, and Light That Lifts the Space
A great basement flows like a small neighborhood of rooms. Start by mapping circulation so people and laundry baskets move without slalom turns. Place living zones where natural light arrives, reserve interior zones for storage or media, and keep plumbing-heavy spaces aligned vertically with the rooms above to control costs. Flex areas—think a guest room that doubles as an office—stretch your investment without adding square footage. If the plan includes a bedroom, design the egress well as a feature: larger wells with reflective liners or stepping stones can magnify daylight and make the window feel purposeful, not obligatory.
Flooring sets the tone and must respect moisture realities. Consider these well-regarded options: - Luxury vinyl plank: resilient, water-tolerant, and forgiving over slight slab imperfections - Porcelain tile: durable, inert to moisture, and friendly to radiant heat systems - Engineered wood: warm and refined if installed with a proper vapor strategy - Carpet tiles: comfortable, replaceable squares with low pile for cleaner air - Sealed or polished concrete: minimalist, tough, and easy to maintain
Walls and ceilings shape the mood. Drywall delivers a seamless look; add sound-damping between levels with insulation and strategic channels. A suspended ceiling provides easy access to valves and wiring while allowing acoustic panels where needed; select tiles with subtle texture to avoid a commercial vibe. Thoughtful lighting does heavy lifting in spaces that start dim. Combine low-glare recessed fixtures with wall-washers, under-cabinet strips at bars or desks, and a few sculptural surface lights to create rhythm. Aim for ample lumens overall and brighter task zones at desks, craft tables, and laundry stations. Use mirrors and lighter paint values to bounce limited daylight further into the plan without over-brightening surfaces.
Storage is a quiet hero. Full-height closets on short walls, under-stair pullouts, and built-ins that hide mechanical chases make the space feel tidy and intentional. Choose trims and doors scaled to lower ceilings—slim profiles help basements feel taller. If your style leans cozy, layer rugs, warm woods, and fabric panels; if you prefer airy, use matte finishes and simple lines. The goal is straightforward: finishes selected for durability, comfort, and easy care, so the room looks as good after year five as it did on day one.
Budget, Timeline, Hiring, and Long-Term Value
Money, time, and trust are the three rails of a smooth renovation. Build a budget that lists line items and assigns realistic ranges. A common distribution looks like this (actual numbers vary by region and scope): - Waterproofing and moisture control: 10–25% - Framing, drywall, and doors: 15–25% - Electrical: 10–15% - Plumbing: 10–20% - HVAC modifications and ventilation: 5–10% - Flooring, millwork, and paint: 20–30% - Permits, inspections, and fees: 2–5% - Contingency: 10–15%
Sequence keeps momentum. Typical timelines include planning and bids (2–4 weeks), permitting (2–6 weeks), rough-in and framing (1–3 weeks), inspections (variable), insulation and drywall (1–2 weeks), and finishes (2–6 weeks). Shortcuts at the start cost time at the end, so treat drawings and scope as investments. When hiring, confirm credentials, insurance, and references. Ask for a detailed proposal with materials, inclusions, exclusions, and a clear change-order process. Structure payments against milestones—never ahead of work performed—and request lien waivers with each draw. For DIYers, know your limits: waterproofing systems, structural changes, and panel work are often wiser in professional hands.
Risk management matters. Photograph walls before closing them to record wiring and pipe runs. Label shutoffs. Store a folder (digital or paper) with permits, inspection reports, appliance manuals, and paint formulas. Choose materials with proven durability in below-grade conditions; saving a little on the wrong product can lead to early replacement. Think long-term operating costs too: continuous insulation, efficient lighting, and smart ventilation can reduce energy use while improving comfort.
Resale value is shaped by execution. Finished basements often recoup a substantial share of their cost, with higher returns when the space adds a code-compliant bedroom, a quality bathroom, or a versatile family zone. Appraisers and buyers notice dry foundations, solid mechanicals, and thoughtful layouts more than flashy finishes. If you might rent the space, consult local rules early and design with safety, egress, and sound separation in mind. Finally, measure success by everyday ease: a place that stores gear neatly, hosts guests comfortably, and never smells damp is a win you feel each time you head downstairs.
Conclusion: Bringing Your Basement to Life
A renovated basement rewards patience and planning. Lead with moisture control, follow with smart structure and services, and finish with design choices that respect the realities of life below grade. Whether you’re crafting a study, a play zone, or a quiet retreat, the steps in this guide help you spend wisely, sequence work cleanly, and create a space that feels naturally connected to the rest of your home.