How to Choose the Right Cabinet Lights
Outline
- Light types and output: bars, strips, pucks, and integrated channels, with lumen targets and beam spread guidance. - Power and wiring: battery, plug-in, and hardwired options, plus safety, drivers, and energy use. - Color and control: color temperature, CRI, dimming, sensors, and flicker considerations. - Placement and installation: measuring, spacing, diffusion, and moisture considerations. - Costs, longevity, and a no-regrets checklist with a concise conclusion for homeowners and renters.
Lighting inside and under cabinets does more than look nice; it decides whether you squint at a recipe or slice with confidence. The right setup carves away shadows, reveals true food and finish colors, and adds a subtle glow that makes a kitchen, bath, or workshop feel complete. Because options have multiplied, choosing thoughtfully saves time, money, and frustration. This guide gives you a clear path from idea to installation.
As you read, imagine how you use each cabinet: where you prep food, grab mugs, or showcase collectibles. Match that behavior to brightness, color, power, and control decisions. Along the way, you will find practical numbers and rules of thumb, so you can shop with a tape measure in one hand and confidence in the other.
Light Types, Brightness, and Beam Spread
Cabinet lighting products tend to fall into four families: slim bars, flexible strips (often installed in aluminum channels with diffusers), puck lights, and integrated linear modules. Each shines differently and suits a specific job. Slim bars and linear modules deliver an even wash along countertops or shelves, avoiding the “scallops” of light that small point sources can create. Flexible strips are the shape-shifters, curving around obstacles and tucking into tight spaces. Pucks, being compact and easy to place, often work as targeted accents or quick upgrades, though they can produce visible hotspots on glossy backsplashes.
Think in lumens, not just watts. For task-heavy areas like food prep zones, plan roughly 200–500 lumens per linear foot of counter, depending on countertop color and ambient light. Dark surfaces drink light, so aim higher; pale surfaces reflect more, so you may need less. For soft inside-cabinet or display applications, 50–150 lumens per linear foot is usually enough to outline shapes without glare. As an example, lighting a 4-foot run of counter for chopping and reading labels might take 800–2,000 lumens total, while a 3-foot glass cabinet showing heirloom cups could glow nicely with 300–450 lumens.
Beam spread and diffusion matter as much as raw output. Linear bars and diffused channels create wide, uniform beams between 90 and 120 degrees, ideal for shadow-free work. Pucks tend to have narrower beams; spacing them 8–12 inches apart can reduce scalloping, but shiny tile may still show bright spots. A diffuser softens dots from LEDs and blends light, especially helpful when the fixture is visible at seated eye level.
To weigh your options efficiently, consider: - Bars or diffused strips for everyday task lighting on worktops. - Pucks for quick accents or inside small cabinets where a single pool of light is enough. - Integrated channels when you want a built-in, furniture-like look and better heat management.
Finally, check efficacy (lumens per watt) and heat handling. Typical quality LED linear systems land around 70–110 lumens per watt. Aluminum channels act as heat sinks, supporting longevity. The takeaway: choose the form factor that matches your surface, then size lumens to the job and use diffusion to polish the look.
Power, Wiring, and Safety: Choosing How Your Lights Live
Power defines convenience, safety, and long-term costs. Battery-powered lights install fast and avoid cords, which suits renters or quick weekend upgrades. Rechargeable packs reduce waste but add charging routines; disposable batteries are easy to replace but cost more over time. Plug-in systems offer steady power with simpler installation, though you will have to plan for a nearby outlet and visible cord routing. Hardwired, low-voltage systems provide a clean, permanent finish with a hidden driver and minimal surface wiring, but they call for more planning and may require a licensed professional depending on local rules.
Most cabinet systems today run on low-voltage DC (commonly 12V or 24V) via a driver that converts household AC to DC. Drivers have maximum wattage ratings; add up the wattage of all connected runs and target no more than 80–90% of the driver’s capacity to reduce heat and extend life. Long runs can suffer voltage drop, especially at 12V, leading to dimmer light at the far end. Solutions include feeding long strips from both ends, stepping up to 24V, or placing the driver closer to the middle of the run.
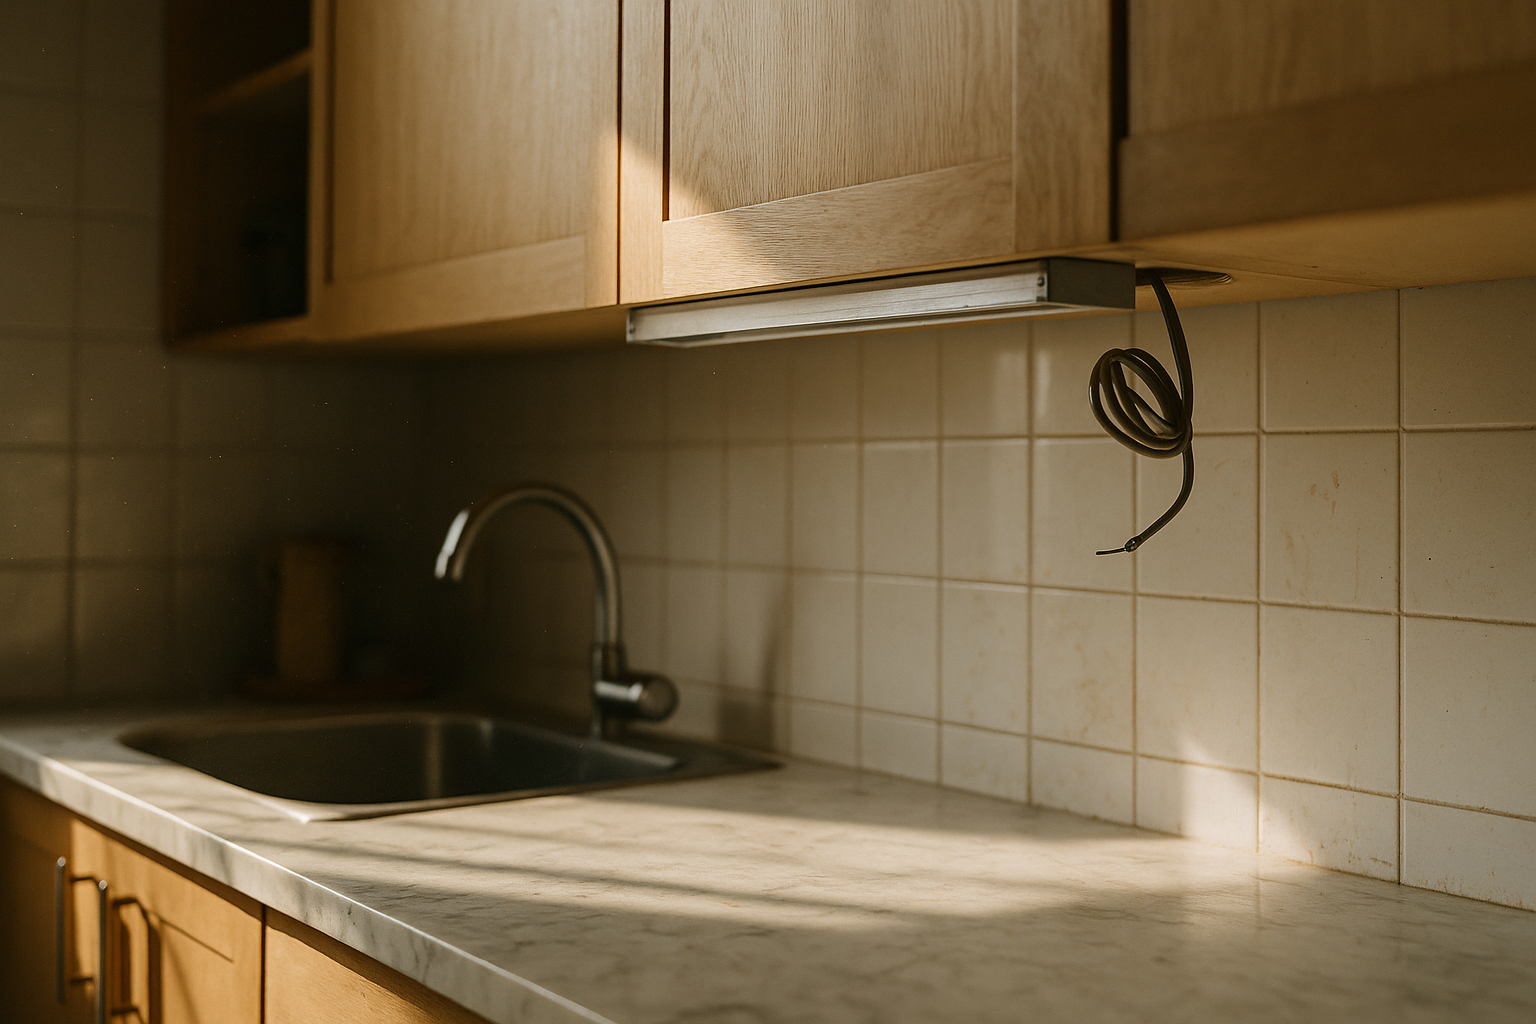
Cord management keeps the installation tidy and safe. Route wires along cabinet undersides and inside channels; use clips or adhesive-backed cable guides to prevent sagging. If drilling pass-through holes, smooth edges and add a grommet to prevent abrasion. Where moisture is possible, such as near a sink, look for enclosures and connectors with appropriate ingress protection ratings for occasional splashes.
Energy use is modest compared with legacy options. A 10-watt under-cabinet run used for three hours per day consumes about 10.95 kWh per year; at 0.15 per kWh, that is roughly 1.64 annually. Scale up to multiple runs and daily use and you still typically land in the single-digit dollars per fixture each year. This low operating cost is one reason LED cabinet lighting is popular in kitchens that see daily use.
For peace of mind, choose products with recognized safety certifications appropriate to your region and follow manufacturer limits for maximum run lengths and compatible dimmers. If planning to hardwire or share a circuit, confirm code requirements and the need for a qualified installer. In short, match power to your living situation: batteries for temporary ease, plug-in for accessible outlets, and hardwired low voltage for a seamless, long-lasting finish.
Color, Quality, and Controls: CCT, CRI, Dimming, and Sensors
Color temperature and color rendering determine how your space feels and how objects look. Warm white (around 2700–3000K) flatters wood tones and creates a cozy, evening vibe. Neutral white (3500–4000K) strikes a balanced, “daylight in a room” feel that suits most kitchens and laundry areas. Cooler white (4500–5000K) can emphasize crispness for craft benches and garages, but it may appear clinical in small kitchens. The key is harmony with your room’s existing lighting: pair warm accents with warm ceiling lights, and keep all cabinet runs consistent to avoid mismatched hues.
Color rendering index (CRI) indicates how faithfully colors appear under a light source compared to a natural reference. For cabinets, look for CRI 90 or higher to improve the look of produce, spices, and finishes. When available, a high R9 value (deep reds) makes tomatoes, meats, and warm wood tones appear richer and more accurate. Poor rendering can flatten colors and make surfaces look dull, even if the light is bright on paper.
Controls shape how you experience the light. Dimming is valuable because surfaces vary: white quartz needs less punch than matte charcoal tile, and late-night trips call for gentler levels. Many low-voltage systems dim via in-line controls or remote modules; others pair with wall dimmers designed for the specific driver type. Motion and door sensors add convenience inside cabinets and pantries, while touch bars or edge switches keep the look minimal under shelves. For those who prefer schedules and scenes, smart modules can allow voice control and automation, but ensure the dimming method is compatible with the driver to avoid flicker.
Flicker deserves attention. Some systems modulate brightness using pulse-width control; when the frequency is low, cameras and sensitive eyes may notice shimmer, especially in slow-motion video. Look for high-frequency control or constant-current designs noted by the manufacturer. If you are creating a video-friendly kitchen or craft station, test a sample first using your phone’s camera in slow-motion mode to spot flicker and banding.
To simplify decisions: - Keep one color temperature throughout the room for visual cohesion. - Choose CRI 90+ for truer food and finish colors. - Prioritize dimming for flexibility, adding motion sensors where you open doors or drawers frequently.
Get color and control right, and even a modest fixture can feel refined, effortless, and comfortable throughout the day.
Placement and Installation: From Shadow-Free Counters to Glowing Displays
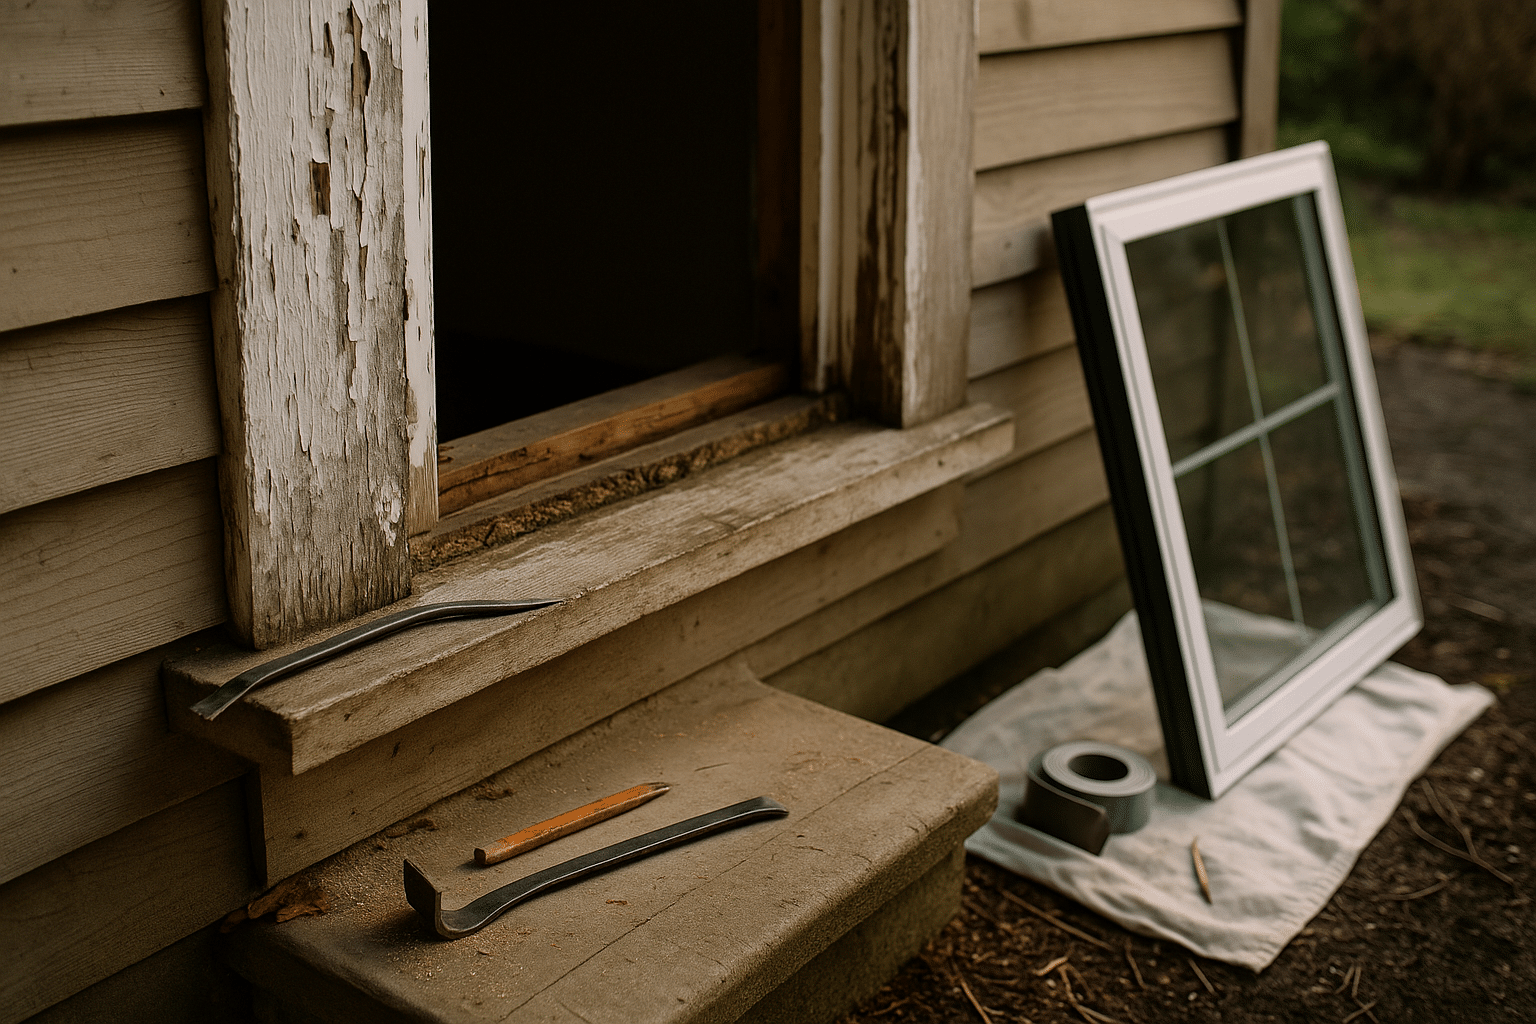
Where you place a fixture matters as much as what you buy. Under-cabinet task lighting should sit near the cabinet’s front edge to push light forward and minimize wrist shadows on the work surface. A common placement is 1–2 inches back from the front lip; that keeps the fixture hidden from typical standing views while still projecting light to the counter’s working zone. If your backsplash is highly reflective, test a short segment first: moving the fixture a finger-width back can soften visible reflections without sacrificing task illumination.
Continuous linear light beats gaps for chopping and reading labels. If using pucks, space them evenly (about 8–12 inches apart) and choose diffusers to reduce scallops on glossy tile. For long counters, consider joining bars or strips end-to-end and use a diffuser lens to blend seams. Inside cabinets, mount short strips along the vertical front or underside of shelves to avoid direct glare on glass doors. For display shelves, running lights along the front edge of the underside can light the items below without highlighting the back wall texture too harshly.
Mounting prep pays off. Clean surfaces with isopropyl alcohol before applying adhesive-backed channels to ensure a strong bond. For screws, pre-drill small pilot holes to avoid splitting thin cabinet bottoms. Press on diffusers only after wiring is verified and dimming is tested; this prevents repeated snap-on, snap-off cycles that can loosen clips over time. When crossing from one cabinet box to the next, drill a tidy hole at the back, deburr it, and add a grommet or bushing to protect the cable jacket.
Heat and moisture are modest but real factors. Even efficient LEDs generate some heat; aluminum channels help draw it away, supporting steady output and longevity. Near sinks or cooktops, choose fixtures and connectors with suitable splash resistance and avoid positioning lenses where they will sit under constant steam. If you are lighting inside a vanity or linen tower, keep wiring away from hinge paths and drawer slides to protect insulation from friction.
Avoid glare with a few simple habits: - Use diffusers wherever the light source is at eye level. - Set fixtures forward to reduce shadows cast by your hands. - Angle lights slightly away from reflective tile or polished stone.
Measure twice, test once: dry-fit components with temporary tape, power them up, confirm brightness and color, and only then commit with screws or permanent adhesive. This small rehearsal catches hotspots, shadows, or spacing issues before they are hard to undo.
Conclusion, Costs, and a No-Regrets Buying Checklist
Budget and longevity determine value, not just the sticker price. Quality LED cabinet systems often list lifespans of 25,000–50,000 hours to L70 (about 70% of initial brightness), which translates to many years at a few hours per day. Combine that with low energy draw, and operating costs stay gentle. For example, a 20-watt total installation used three hours daily consumes about 21.9 kWh per year, roughly 3.29 at 0.15 per kWh. Replacement drivers and dimmers add cost if chosen poorly, so selecting compatible parts up front prevents repeat purchases.
Reliability signs include sturdy aluminum channels, secure connectors, consistent color from segment to segment, and clearly stated electrical specs. Look for independent safety certifications appropriate to your region and straightforward documentation with wiring diagrams and maximum run lengths. Warranties vary; consider what duration aligns with your expectations for a semi-permanent upgrade. If a fixture is easy to access and inexpensive, a shorter warranty may be acceptable; for concealed, hardwired channels, a longer warranty can be worth a modest premium.
Use this streamlined buying checklist to stay on track: - Measure each run, sketch cable paths, and note outlet or junction locations. - Pick one color temperature for the room and confirm CRI 90+. - Set lumen targets: 200–500 lm/ft for task areas; 50–150 lm/ft for gentle accents. - Choose a power approach: battery for temporary, plug-in for quick, hardwired low voltage for integrated. - Verify dimming and control compatibility, and test a sample for flicker. - Plan mounting: front-edge placement, diffusion where visible, and safe cable routing. - Confirm driver capacity with 10–20% headroom and consider voltage drop on long runs.
For homeowners, this approach yields kitchens and baths that feel welcoming and functional without drama. Renters can lean on rechargeable or plug-in options to gain clarity without drilling deep holes. Makers and hobbyists get shadow-free benches and color-true work surfaces that respect delicate materials. Choose thoughtfully, test before you commit, and your cabinets will serve as both showcase and workstation—quietly, reliably, and with light tuned to the way you live.