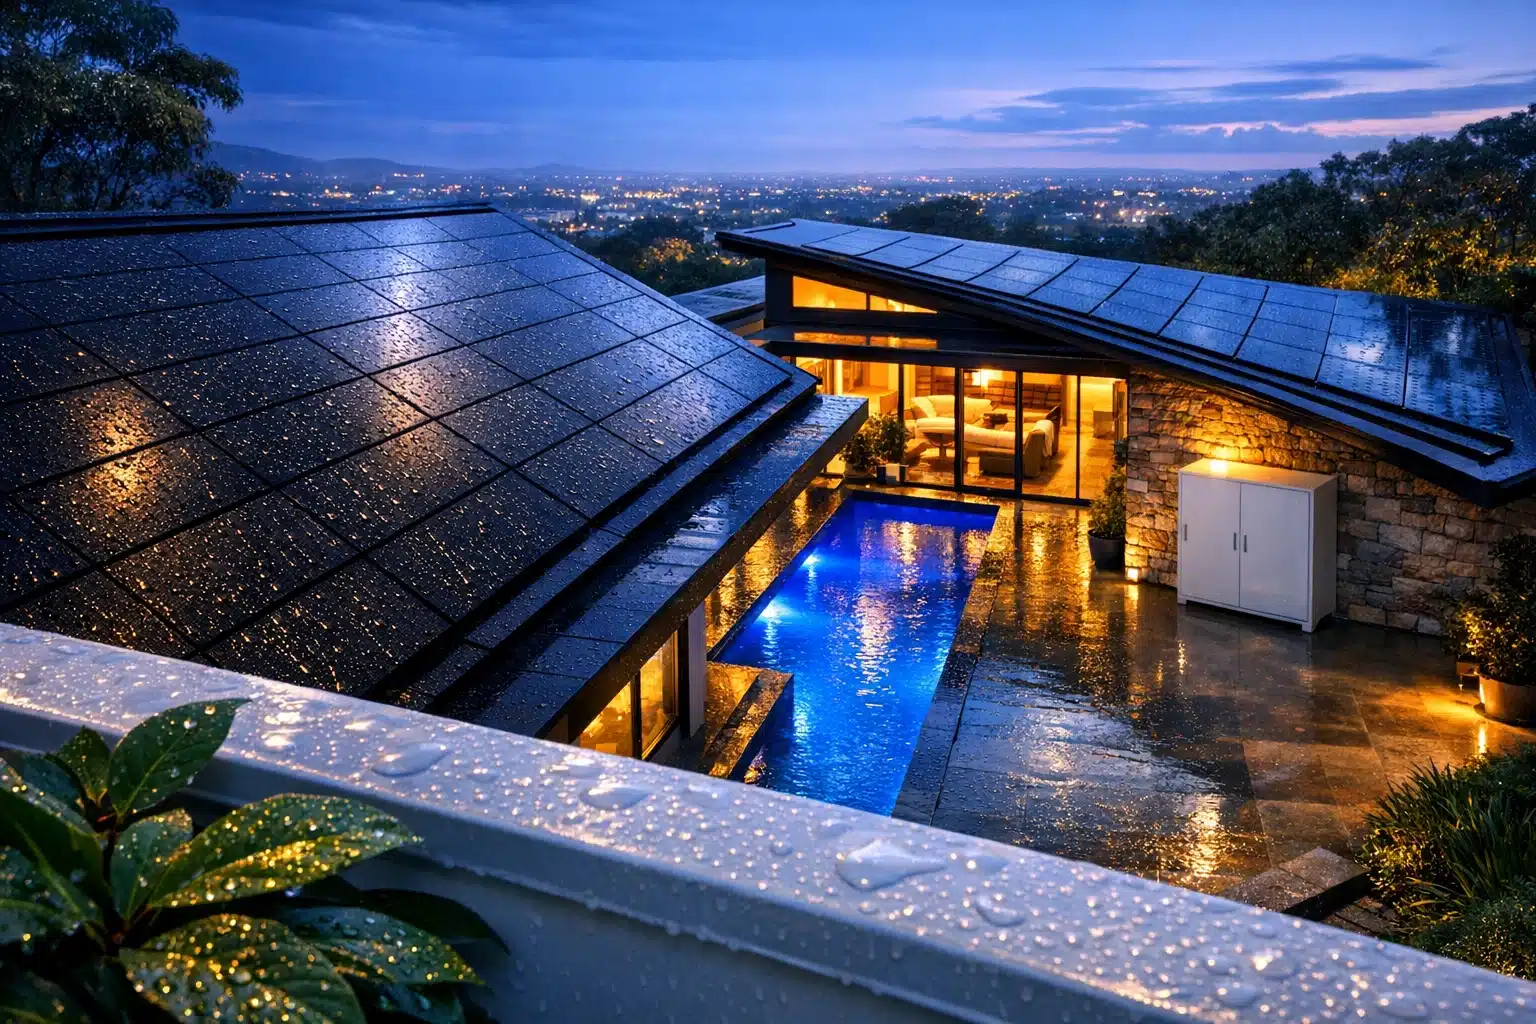
Home Window Replacement: The Complete Upgrade Guide
Windows shape comfort, quiet, light, and energy use more than most fixtures in a home. Replacing them can reduce drafts, steady indoor temperatures, and elevate curb appeal—often in one project. Because windows can account for roughly 25–30% of residential heating and cooling energy use through heat loss and gain, a well-planned upgrade is both a style move and a performance decision. The key is understanding materials, glass, installation, and timing so the results match your climate, budget, and daily life.
Outline
– Section 1: When to Replace and How to Evaluate Existing Windows
– Section 2: Frame Materials and Styles: Vinyl, Fiberglass, Wood, Aluminum, and Composites
– Section 3: Glass Technology and Energy Performance: U-Factor, SHGC, Low‑E, and More
– Section 4: Installation Methods, Weatherproofing, and DIY vs. Pro
– Section 5: Costs, Incentives, ROI, and a Final Checklist
When to Replace and How to Evaluate Existing Windows
Windows are the lungs and lenses of a house: they let the home breathe, and they decide how the world looks from your sofa. Knowing when to replace begins with symptoms. Drafts you can feel in winter, stickiness when you open the sash, condensation trapped between panes, rot at the sill, and flaking finishes are all practical red flags. If rooms by windows are meaningfully colder or hotter than interior spaces, your frames, seals, or glazing may be underperforming.
Performance metrics add clarity. A modern energy label lists U-factor (rate of heat transfer), Solar Heat Gain Coefficient (SHGC), Visible Transmittance (VT), and Air Leakage (AL). Lower U-factor typically means better insulation. For many efficient double-pane units, U-factors often land around 0.25–0.30, while triple-pane can dip lower; your climate steers what’s sensible. AL values are commonly 0.3 cfm/ft² or lower; the tighter, the better for drafts. If your existing windows lack any label, a few simple tests help: hold an incense stick on a windy day to spot air currents, use an infrared thermometer to compare glass to interior surfaces, and inspect weatherstripping for gaps or crushed segments.
Beyond comfort and efficiency, safety and function matter. Bedrooms typically require an egress window that opens to a minimum clear area (often around 5.7 square feet in many jurisdictions—confirm locally) for emergency exit. In bathrooms or near doors and floors, tempered or safety glazing may be required. If your home predates 1978, assume painted surfaces could contain lead; renovation rules in many regions require lead-safe practices when disturbing painted frames or sashes.
Before pricing replacements, measure like a pro. Note the rough opening (width x height) at three points and record the smallest number to guide fit; check both diagonals to detect racking; and photograph exterior flashing, trim conditions, and interior casing. Consider usage patterns too: do you want windows that tilt in for cleaning on a second story, or casements for a tighter seal against coastal winds? A clear picture of pains and priorities will anchor your upgrade path.
– Telltale signs it’s time: ongoing drafts, fogged panes, soft or crumbling wood, mold at sills, audible whistling in storms
– Quick diagnostics: incense test for leaks, IR spot checks, feel for cold glass vs. adjacent wall, flashlight glare to find seal defects
– Safety checks: egress in sleeping rooms, tempered glass near tubs, verify window guards where required
Frame Materials and Styles: Comparing Vinyl, Fiberglass, Wood, Aluminum, and Composites
The frame is the backbone of any window, shaping durability, appearance, and thermal performance. Each material family offers a distinct blend of cost, maintenance, and efficiency. Matching the frame to your climate and design goals helps you get value—now and a decade from now.
Vinyl is widely chosen for affordability and low maintenance. It resists moisture, never needs painting, and can deliver solid insulation due to hollow chambers. However, color choices can be limited, darker exteriors may warm up under intense sun, and lower-grade vinyl can warp or bow if oversized or poorly reinforced. When vinyl is thoughtfully engineered, it’s a practical, highly rated choice for many starter-to-midrange projects.
Fiberglass frames are dimensionally stable and strong, with thermal expansion rates close to glass—an advantage for seal longevity. They can be painted and often achieve excellent U-factors with slim profiles. Costs tend to be mid-to-high, but their durability and low movement make them well-regarded in variable climates (freeze-thaw cycles or significant temperature swings).
Wood delivers warmth, natural beauty, and strong insulation. It’s a favorite in historic districts and for homes that prize craftsmanship. The tradeoff is maintenance: periodic painting or sealing is necessary unless you select exterior cladding (such as aluminum- or fiberglass-clad wood) to shield the outside face. With proper care, wood can last decades and remain outstanding in appearance and performance.
Aluminum offers sleek lines and structural strength, ideal for large expanses or modern designs that favor narrow sightlines. Because aluminum conducts heat, high-quality units rely on thermal breaks to cut heat transfer. In hot, sunny climates where cooling is the priority and condensation risk is lower, aluminum can perform well; in cold climates, careful specification is important to avoid chilly frames.
Composites blend materials—often wood fibers and polymers—to combine rigidity with reduced maintenance. They’re paintable, dimensionally stable, and engineered to balance insulation and strength. Pricing usually falls between vinyl and fiberglass, making composites one of the top options for homeowners seeking a long-life frame without the upkeep of raw wood.
Style shapes both form and function:
– Double-hung: classic look, both sashes move; easy cleaning; moderate air sealing
– Casement: side-hinged, crank-out; excellent sealing and ventilation control
– Awning: hinged at top; can vent during light rain; pairs well above fixed glass
– Slider: smooth operation, simple lines; seals vary by quality
– Fixed/Picture: no operability; maximum clarity and efficiency
– Specialty shapes: arches, circles, bays, and bows amplify daylight and curb appeal
Casements often seal more tightly than sliders or double-hungs due to compression gaskets, which can translate to lower air leakage. But context matters: in tall, narrow openings, casements shine; in wide openings, sliders may be more economical. Match frame material, operating style, and finish to your climate, architecture, and maintenance appetite for a result that feels both intentional and enduring.
Glass Technology and Energy Performance: U-Factor, SHGC, Low‑E, and More
Glazing is where the physics lives. Modern insulated glass units (IGUs) typically sandwich two or three panes around a spacer, then fill the cavities with inert gas to slow heat transfer. Low-emissivity (Low‑E) coatings—microscopic metal oxide layers—reflect infrared heat while allowing visible light to pass. The right combination of panes, coatings, gases, and spacers tailors performance to your climate and sun exposure.
Key metrics guide smart choices:
– U-factor (lower is better): measures overall heat flow. Efficient double-pane windows commonly range around 0.25–0.30; triple-pane can dip lower, enhancing winter comfort.
– SHGC, Solar Heat Gain Coefficient (0 to 1): quantifies solar heat admitted. Lower SHGC helps in hot climates and on west/south facades with intense sun. Higher SHGC can be beneficial in cold climates to harvest winter sunlight.
– VT, Visible Transmittance (0 to 1): higher numbers mean brighter interiors. Balance VT with glare and heat control.
– Condensation Resistance (CR index): higher values reduce interior condensation on cold mornings.
– Air Leakage (AL): target low values for calmer, draft-free rooms.
Gas fills matter. Argon is common and cost-effective, improving insulation by slowing convection between panes. Krypton performs even better in narrow gaps (typical of some triple-pane designs) but raises cost. Spacers—the material holding panes apart—also influence edge-of-glass temperatures; “warm-edge” spacers can reduce condensation along the perimeter in cold weather.
Climate guides coatings and SHGC. In northern, heating-dominated regions, a Low‑E tuned for higher SHGC on south-facing windows can capture passive solar heat while still curbing night-time losses. In hot, cooling-dominated zones, select Low‑E with low SHGC—especially on west and south exposures—to tame afternoon spikes. Mixed climates often benefit from a balanced SHGC and broad use of Low‑E for year-round comfort.
Sound control is another lever. Laminated glass, which sandwiches a clear interlayer between panes, can raise Sound Transmission Class (STC) ratings and quiet traffic noise without a large energy penalty. For homes near airports or busy streets, a combination of laminated outer pane and tight frames can noticeably lower decibels indoors.
Consider a simple payback sketch. Suppose you replace 12 leaky, single-pane units with efficient double-pane Low‑E windows. If windows were responsible for around 25% of your $1,800 annual heating/cooling spend and you trim that window-related portion by 25%, you might save roughly $112 per year. The full value includes quieter rooms, steadier humidity, less fading of fabrics (Low‑E reduces UV), and higher appraisal appeal—benefits not always captured in utility bills but felt daily.
Installation Methods, Weatherproofing, and DIY vs. Pro
Even the finest frame and glass will disappoint if water or air sneaks around the edges. Installation quality can determine whether your windows deliver their rated performance. There are two primary paths: insert (pocket) replacements and full-frame replacements. Insert units slide into the existing frame, preserving interior and exterior trim; they’re faster and less disruptive but can’t fix hidden rot or flashing issues. Full-frame replacements strip the opening to the rough framing, allowing you to reset flashing, insulation, and sill geometry for a fresh start.
Water management begins at the sill. A sloped sill pan—site-built with flexible flashing or preformed—collects any incidental water and guides it out. Think of it as a miniature roof under your window. Side and head flashing integrate with the weather-resistive barrier (WRB) to shingle-lap water away from the opening. Butyl or acrylic flashing tapes, properly rolled for adhesion, bridge the frame-to-wall gap. On the interior, low-expansion foam or backer rod plus high-quality sealant air-seal the perimeter without bowing the frame.
A typical full-frame workflow:
– Protect interior: cover floors, seal off the room from dust, and remove shades and hardware
– Remove trim and old unit: pry gently to spare casing if you plan to reuse; watch for hidden wires
– Inspect framing: repair or replace any wet, moldy, or crumbling wood; confirm square and plumb
– Build/install sill pan: slope to exterior; include back dam to block reverse flow
– Set and shim new window: verify level, plumb, square; confirm even reveals; operate sashes to ensure smooth travel
– Flash in layers: sill first, then sides, then head; integrate with WRB to maintain continuous drainage plane
– Insulate and air-seal: use low-expansion foam or mineral wool; seal interior with backer rod and sealant
– Reinstall trim and paint/caulk: maintain small, even gaps for sealant movement
Common pitfalls include relying on caulk alone without a sill pan, over-foaming the jambs and bowing the frame, or skipping integration with the WRB. Timing matters, too: aim for a stretch of dry weather, and stage materials so each opening is exposed for hours—not days. In cold seasons, warm the room and materials to improve tape adhesion and foam cure.
DIY or pro? If you’re comfortable with exterior flashing, understand how your cladding and WRB work, and have solid carpentry skills, an insert replacement can be a rewarding weekend. For full-frame, complex walls (stucco, stone, rainscreen cladding), large or heavy units, or code-driven safety glass locations, a licensed installer offers peace of mind. Homes built before 1978 may require lead-safe work practices; clearing this with a certified contractor protects occupants and keeps you compliant. A meticulous install is quiet, almost invisible work—but it’s the difference between a window that shines for decades and one that starts whispering at the first storm.
Costs, Incentives, ROI, and a Final Checklist
Window projects vary in scope, so think in ranges rather than absolutes. Insert replacements generally cost less per opening than full-frame because they preserve trim and minimize exterior work. Material influences totals: vinyl often anchors the lower range, composites and fiberglass sit in the middle-to-upper tiers, and premium wood or specialty shapes land higher. Complex access (upper stories, steep terrain), large panes, and tempered or laminated glass can add meaningful labor and material costs.
Budget planning tips:
– Group windows by priority: tackle the draftiest, sun-baked, or rotted openings first
– Consider economies of scale: unit prices often improve with larger orders
– Balance performance and payback: a moderately upgraded unit in a mild climate may outperform a premium spec in terms of dollars saved per dollar spent
– Ask about lead times: custom sizes and specialty glass extend schedules; plan around weather and family commitments
Rebates and incentives can soften the outlay. Many utilities, municipalities, and national programs offer rebates or tax credits for windows that meet specified performance thresholds. Requirements usually hinge on U-factor and SHGC suited to your climate zone. Keep all labels and invoices, register warranties promptly, and submit rebate forms before deadlines. A quick call to your utility or a search on your state or regional energy office site can uncover timely options.
What about ROI? Besides energy savings, windows elevate comfort, quiet rooms, reduce UV fading, and can improve appraised value—advantages that matter in daily living and future resale. A simple example: if your home spends about $1,600 per year on heating and cooling and windows drive roughly 25% of those loads, trimming that slice by 20% yields around $80 in annual savings. While that number alone may suggest a long payback, the real return includes steadier temperatures, condensation control, easier operation, and a more welcoming interior light.
Care is straightforward. Clean tracks, lubricate hardware sparingly, refresh exterior sealant every few years, and keep weep holes clear so water exits freely. Inspect interior caulk lines annually; if you spot cracks or gaps, renew before winter. With this routine, modern windows can remain outstanding performers for decades.
Final checklist for confident decisions:
– Confirm goals: comfort, energy, sound, aesthetics, or all of the above
– Choose frame material that matches climate and maintenance plans
– Match glass package (U-factor, SHGC, VT) to orientation and weather
– Decide on insert vs. full-frame based on trim condition and water management
– Verify code needs: egress sizes, tempered glass near hazards
– Budget with contingencies and scan for rebates before ordering
– Insist on proper flashing, sill pans, and low-expansion foam during install
– Register warranties and schedule a post-install walkthrough
Conclusion: Window replacement is part science, part craft. When you align material, glass, and installation with your specific house and climate, you get a quieter, brighter, more stable home that welcomes every season. Use the steps above as your compass, and you’ll move from “Where do I start?” to “I’m glad we did this” with calm, informed momentum.